


Disclaimer: Don’t use it to host video, theres nothing preventing you from doing so other than cloudflare tos (2.8) but it’s better if you just use it for image storage.
Hello there 👋
Today we will use Cloudflare & GitLab to make the best “free” & fast CDN!
How do we do this you may ask, well simple. GitLab provides us with 10 GB repository limit, we can use this to host our original data via GitLab Pages, then we serve it via Cloudflare, and we set a page rule for our CDN, so it always hit the cached version!
What is a CDN
According to Cloudflare, a CDN is a
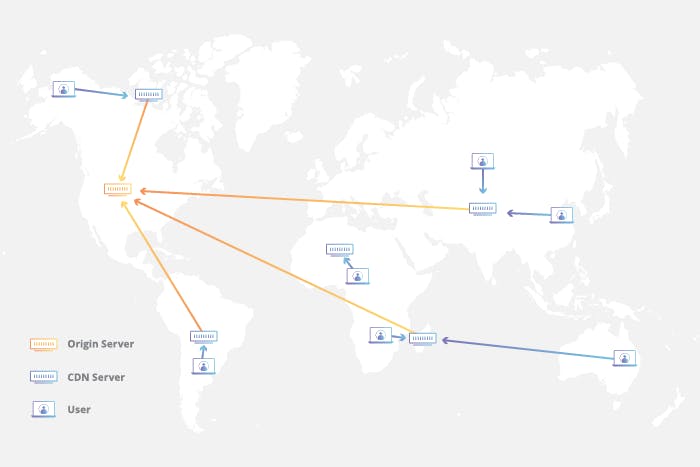
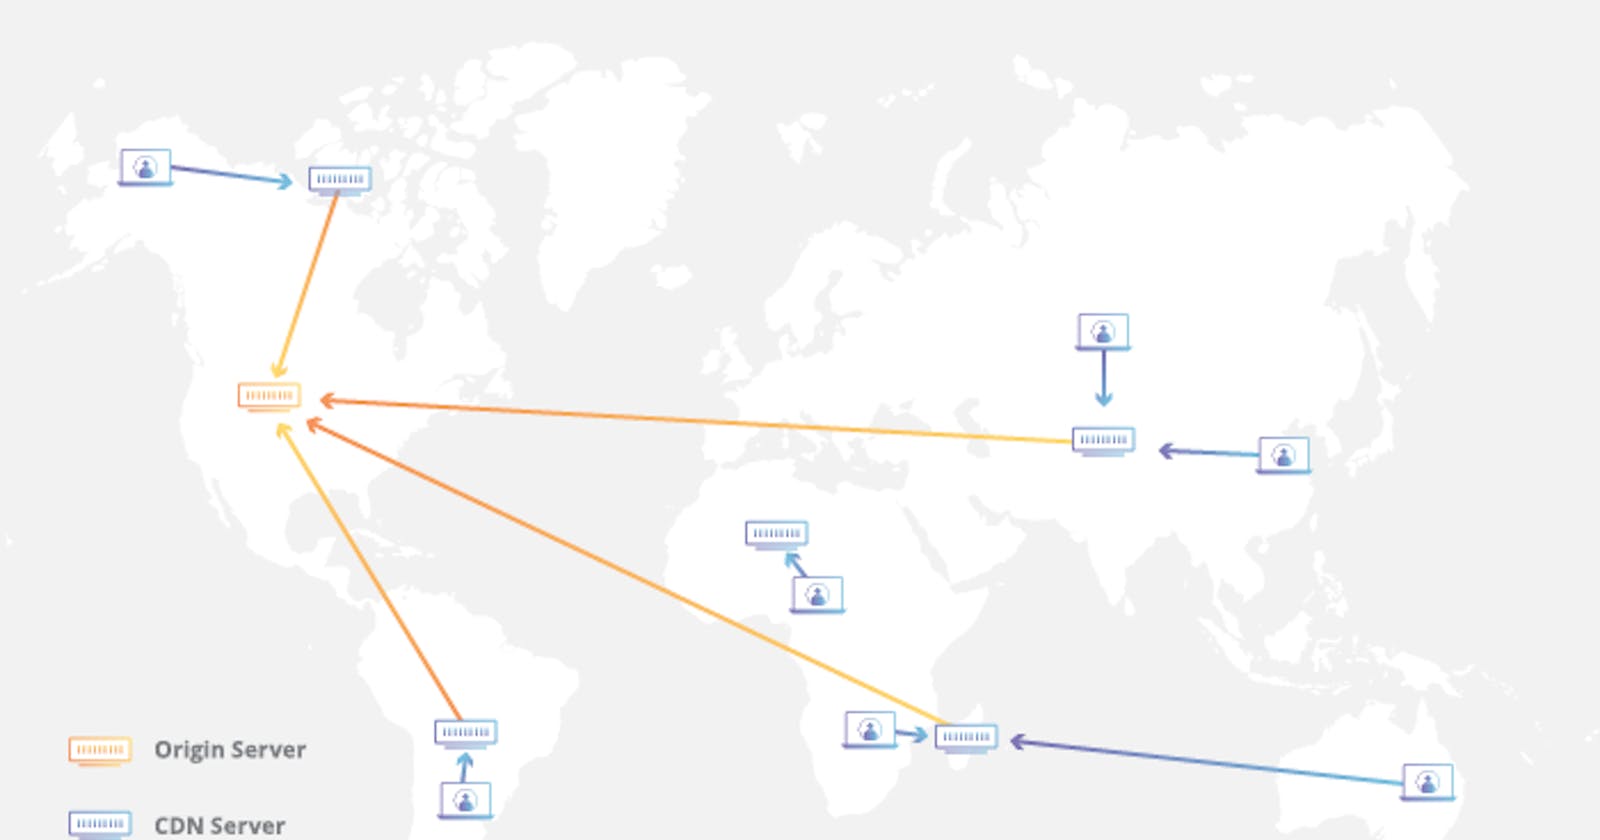
A content delivery network (CDN) refers to a geographically distributed group of servers which work together to provide fast delivery of Internet content.
A CDN allows for the quick transfer of assets needed for loading Internet content including HTML pages, javascript files, stylesheets, images, and videos. The popularity of CDN services continues to grow, and today the majority of web traffic is served through CDNs, including traffic from major sites like Facebook, Netflix, and Amazon.
A properly configured CDN may also help protect websites against some common malicious attacks, such as Distributed Denial of Service (DDOS) attacks.
Setup Requirements.
- Domain. (you can use a subdomain that is on Cloudflare.)
- GitLab account.
Setting up GitLab environment
Create your GitLab account if you don't have one, go make it right now.
Then create a repository with any name and the file .gitlab-ci.yml and a folder named public
Then fill the .gitlab-ci.yml with
image: alpine:latest

pages:
  stage: deploy
  script:
  - echo 'Nothing to do...'
  artifacts:
    paths:
    - public
    expire_in: 1h20min
  rules:
    - if: $CI_COMMIT_REF_NAME == $CI_DEFAULT_BRANCH
And your content on the public folder. Either image HTML file, anything.
Serve the content via GitLab Pages
After you've done the steps above, GitLab should auto generate a website.
Configuring Cloudflare
The next steps will be pretty straight forward. On GitLab, go to settings → pages; then click on new domain. Add your domain there, and add it to Cloudflare by following the instructions. Next for optimization and 99% cache hit, set this page rule for your CDN domain
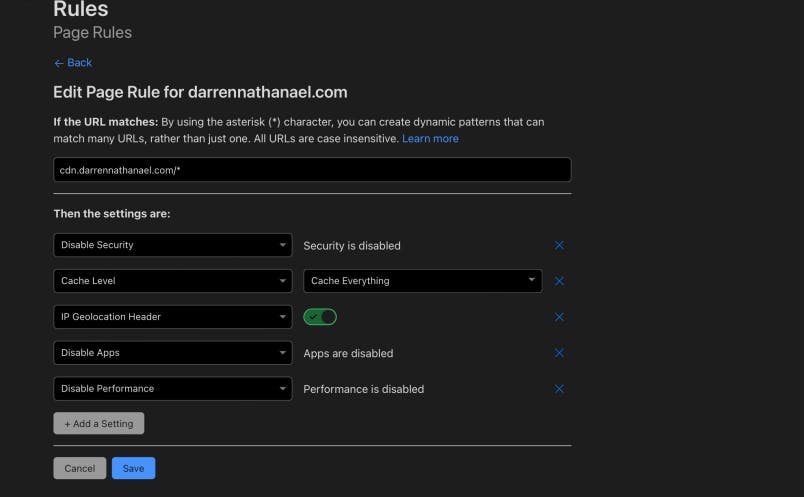
After that you're good to go!
Thank you for reading, have a great day!
- Website: darrennathanael.com
- Socials: link.darrennathanael.com