


Hello 👋,
Today we will learn how to set up your website on the cloud ☁️ for free! First, I will introduce to you Cloudflare and how we can use Cloudflare to deploy a website for free.
What is Cloudflare?
According to Cloudflare:
Cloudflare is one of the most extensive networks operating on the Internet. People use Cloudflare services to increase the security and performance of their websites and services.
tl;dr they are a CDN provider, DDoS Migration provider, and many more. Anything you need to make your website more secure and faster.
Cloudflare Pages 📄
Cloudflare recently introduced a service called Cloudflare Pages, which is what this guide will guide you on how to use it to its fullest potential!
Now Cloudflare pages are not a new concept. For example, Netlify, Verel, Github Pages & Gitlab Pages. Why did I pick Cloudflare instead of all those things I mentioned above?
Well, the answer is simple. They have the advantages that other providers don't have; simply because they have over 200+ data centers worldwide, no matter where your potential viewers are, they will be guaranteed to load your website fast 💨!
plus, they have a free tier, which is fantastic 👏
Setting up Cloudflare pages!
Now, this is the fun part. here's how you set up Cloudflare pages and make your website from 🐌 to 🔥
Setup Cloudflare account 🔑
First, you need to make a Cloudflare account, head over to https://pages.cloudflare.com/ and click on Sign Up
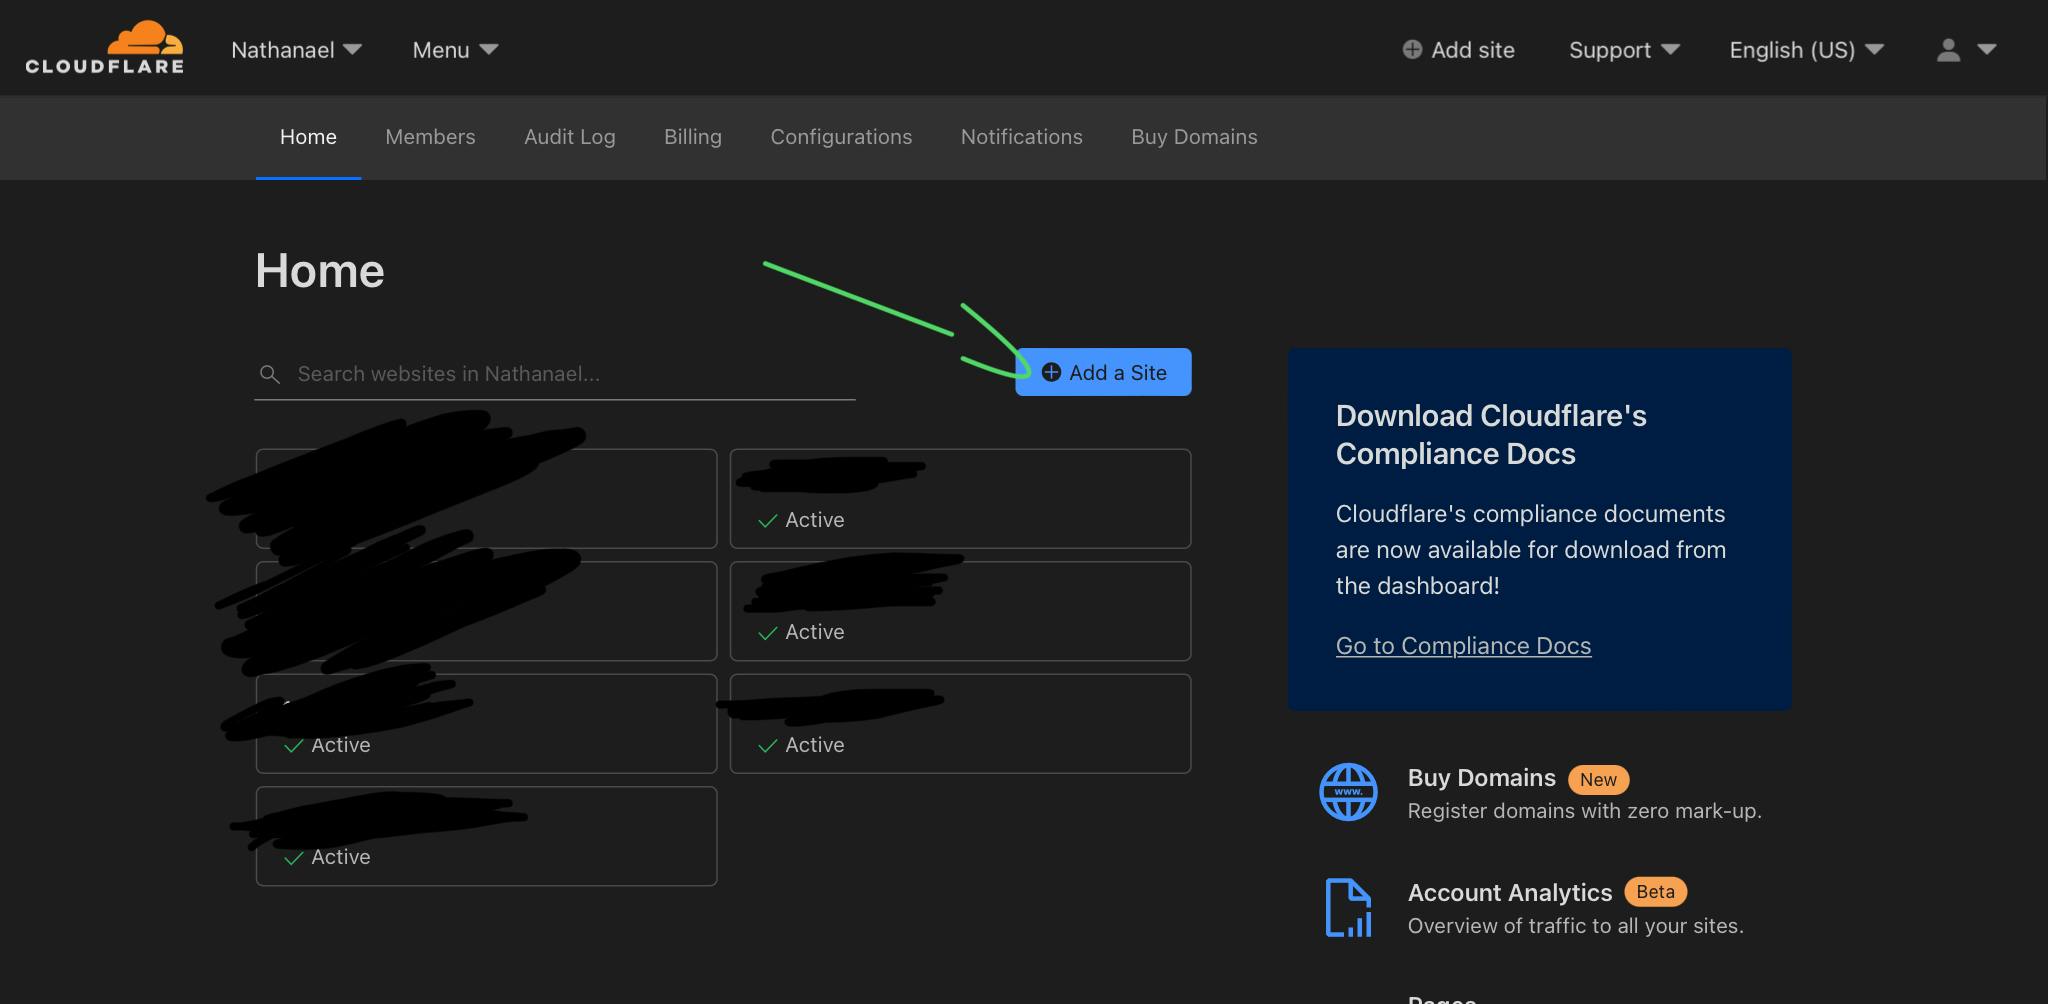
Once you sign up, you can add your domain to Cloudflare via the add site button.
Add site button
Next, add your site to Cloudflare; once you do that, click next.
domain setup
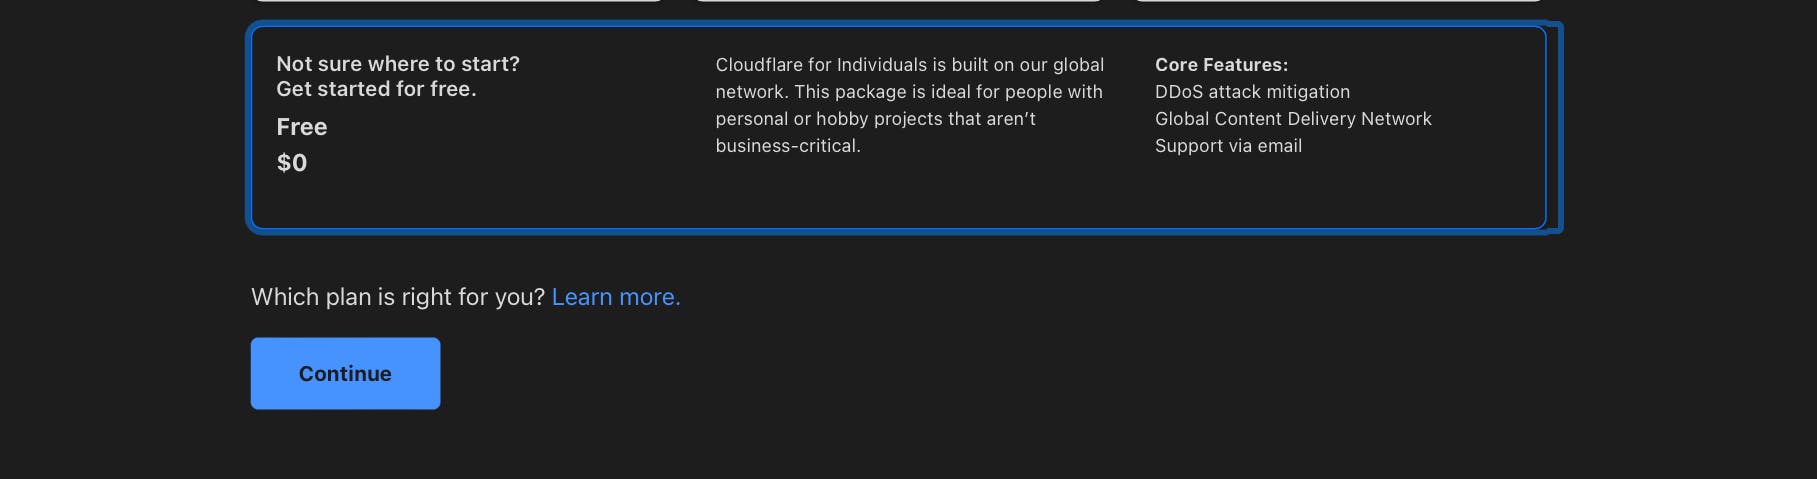
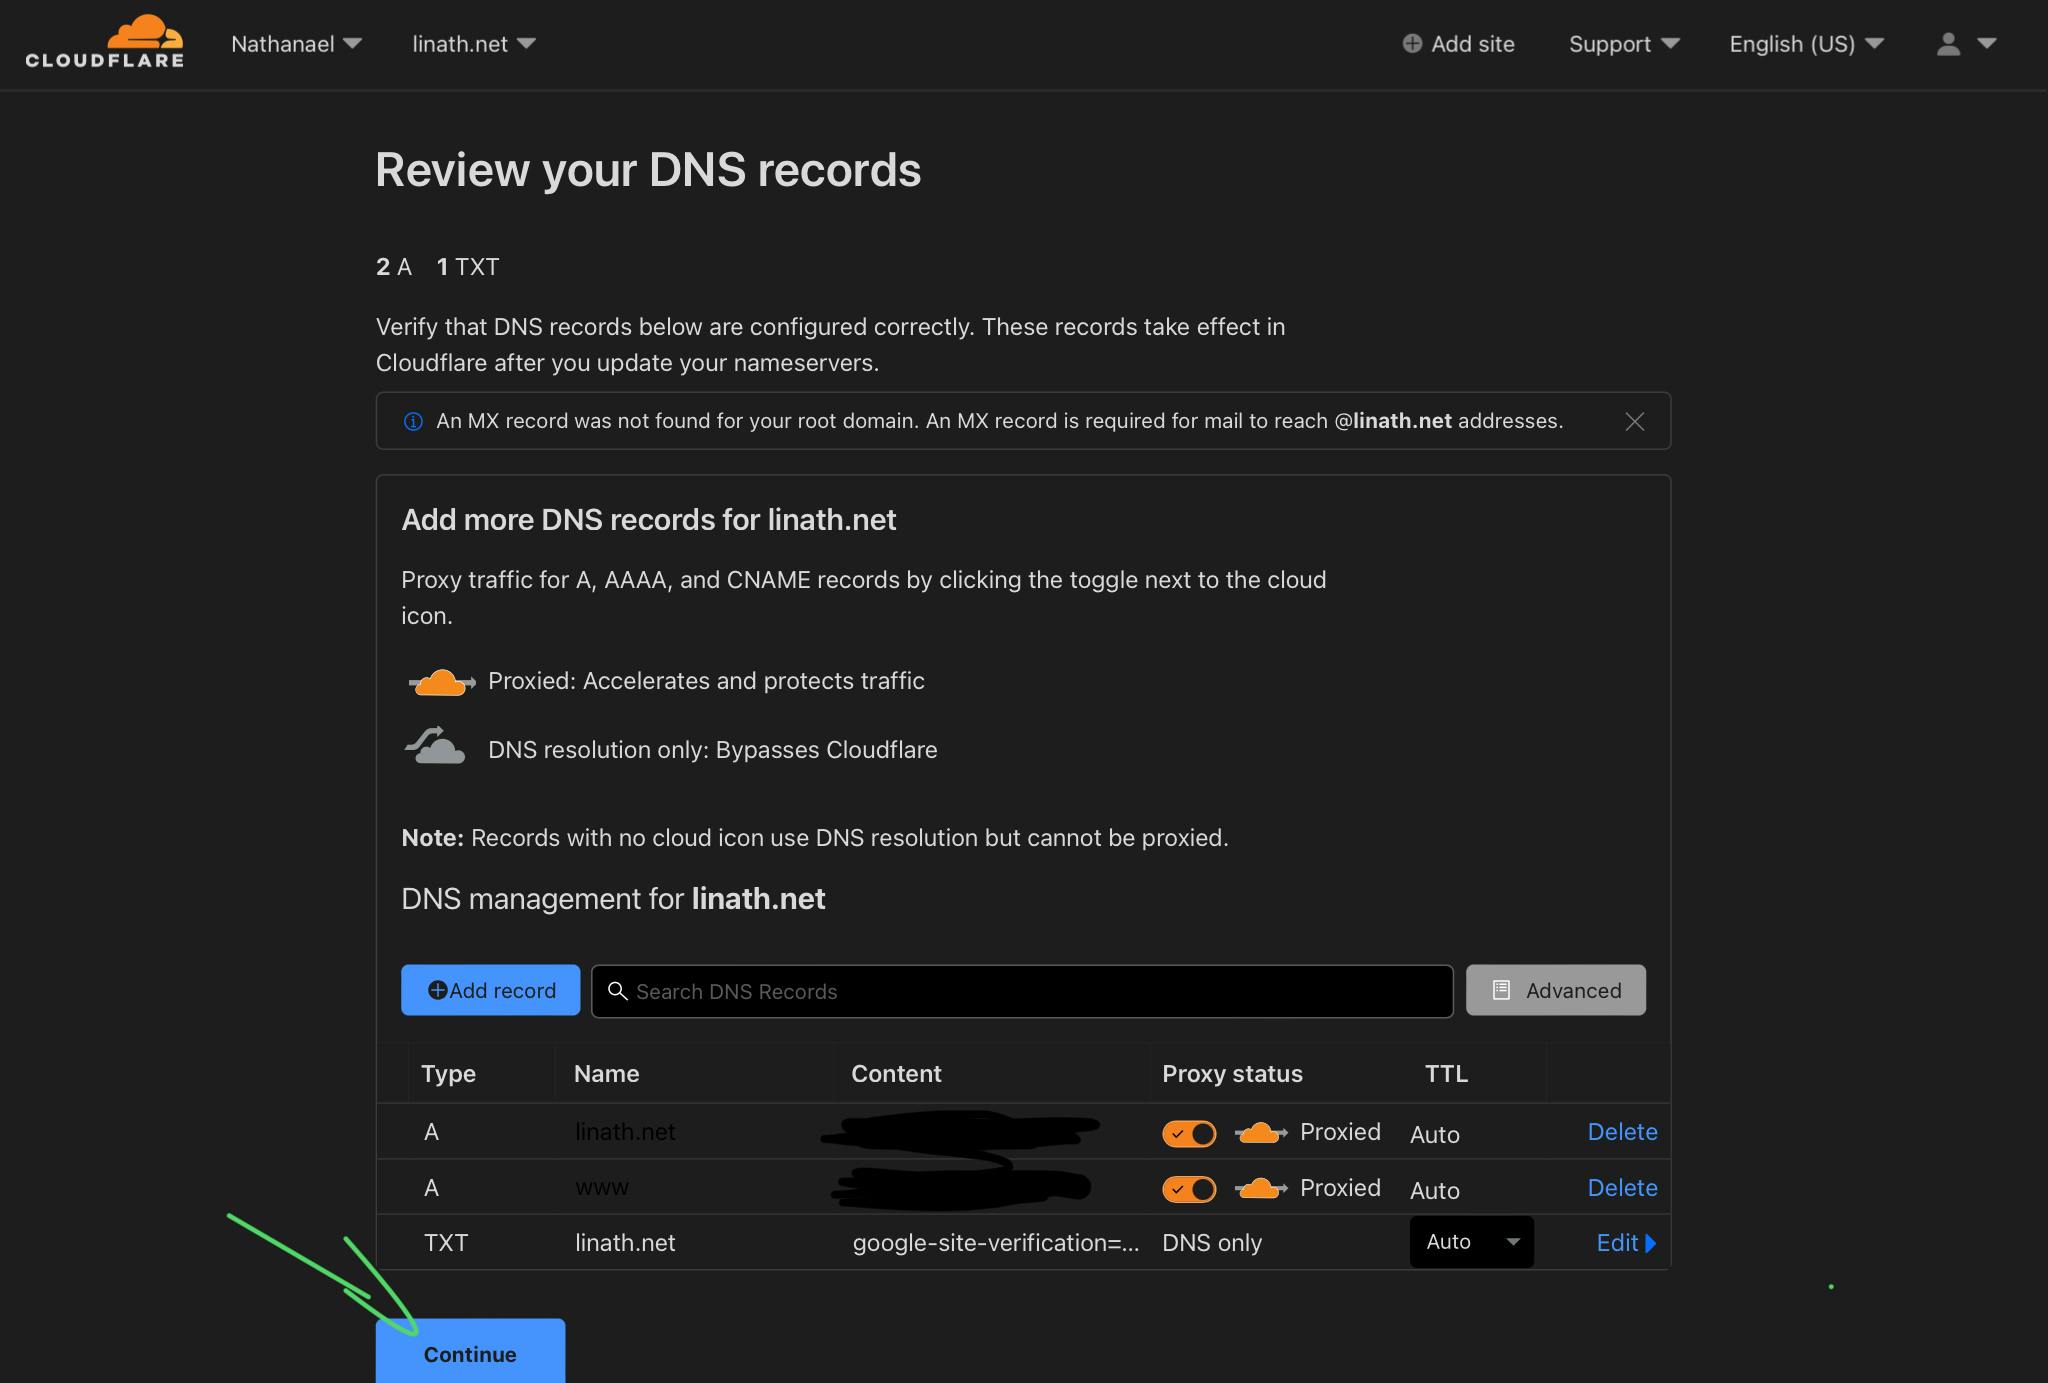
Select the free tier; then, it will scan your current DNS settings and migrate them to Cloudflare; after that, click continue.
DNS migration
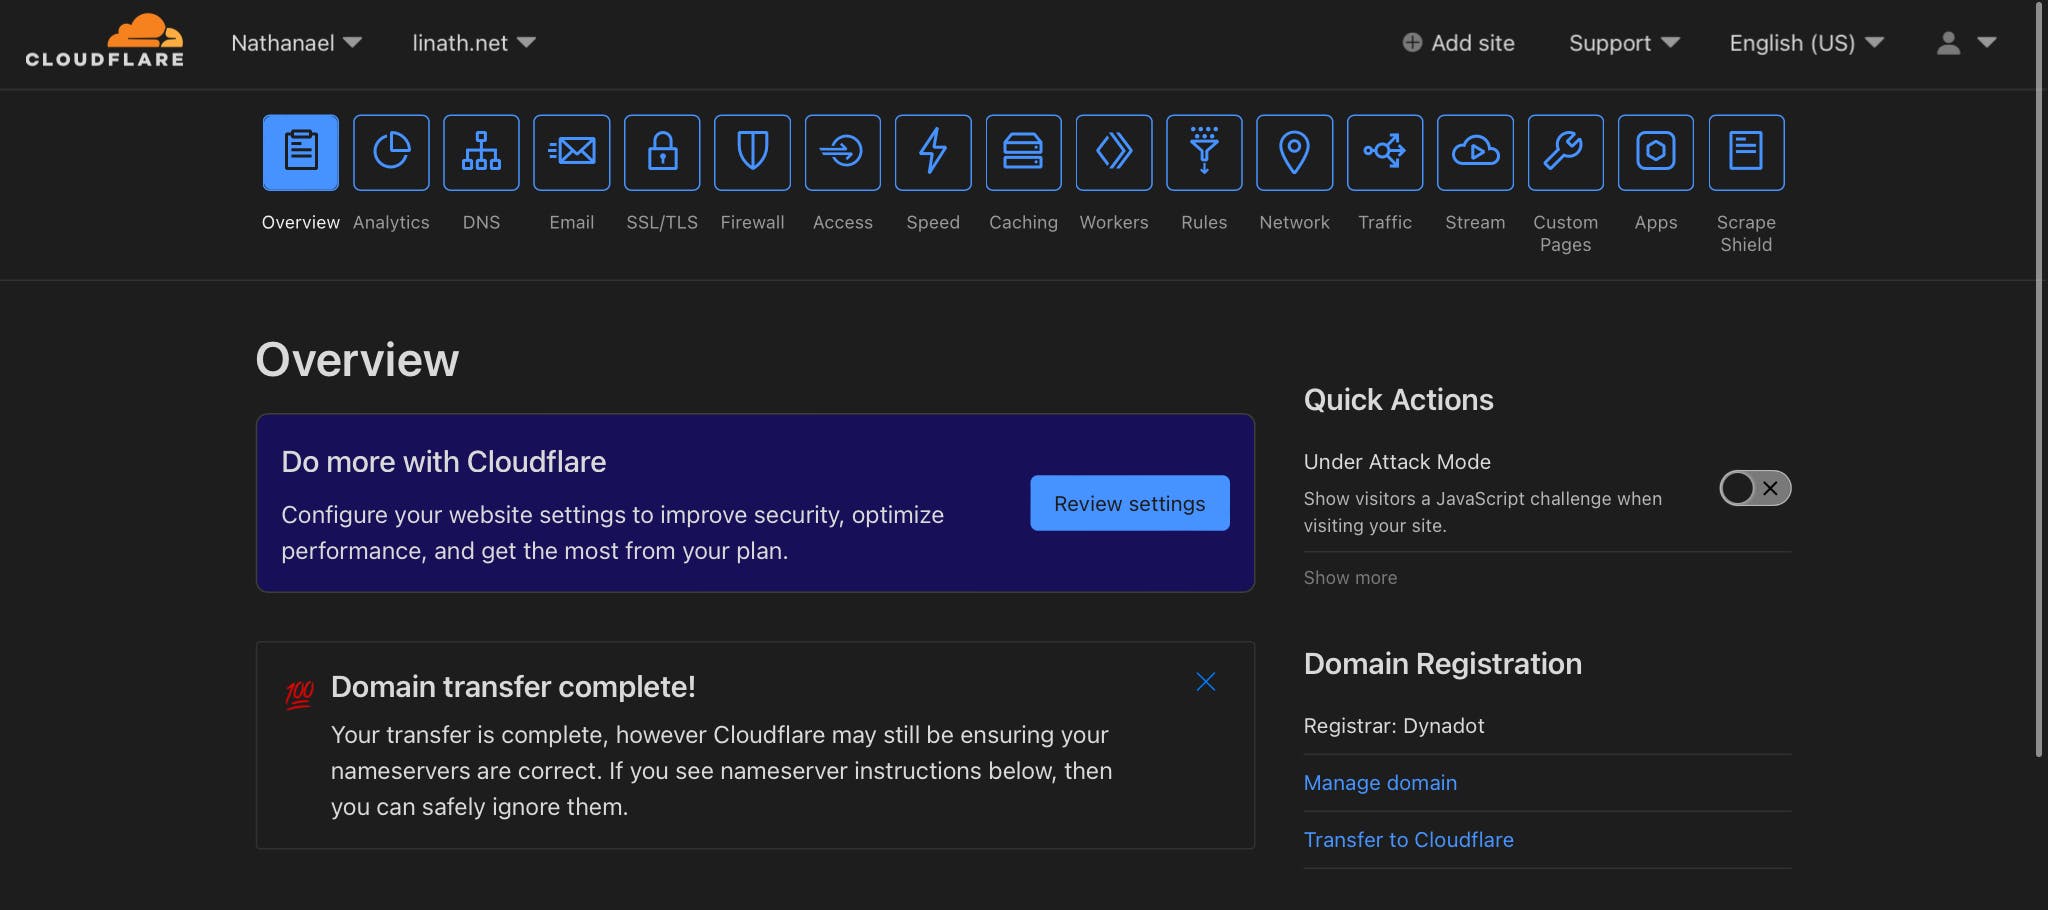
After that, It should prompt you to move your current name server to Cloudflare free name server. once you've done that, you should be greeted with this screen.
domain transfer
Pages setup
Almost there!
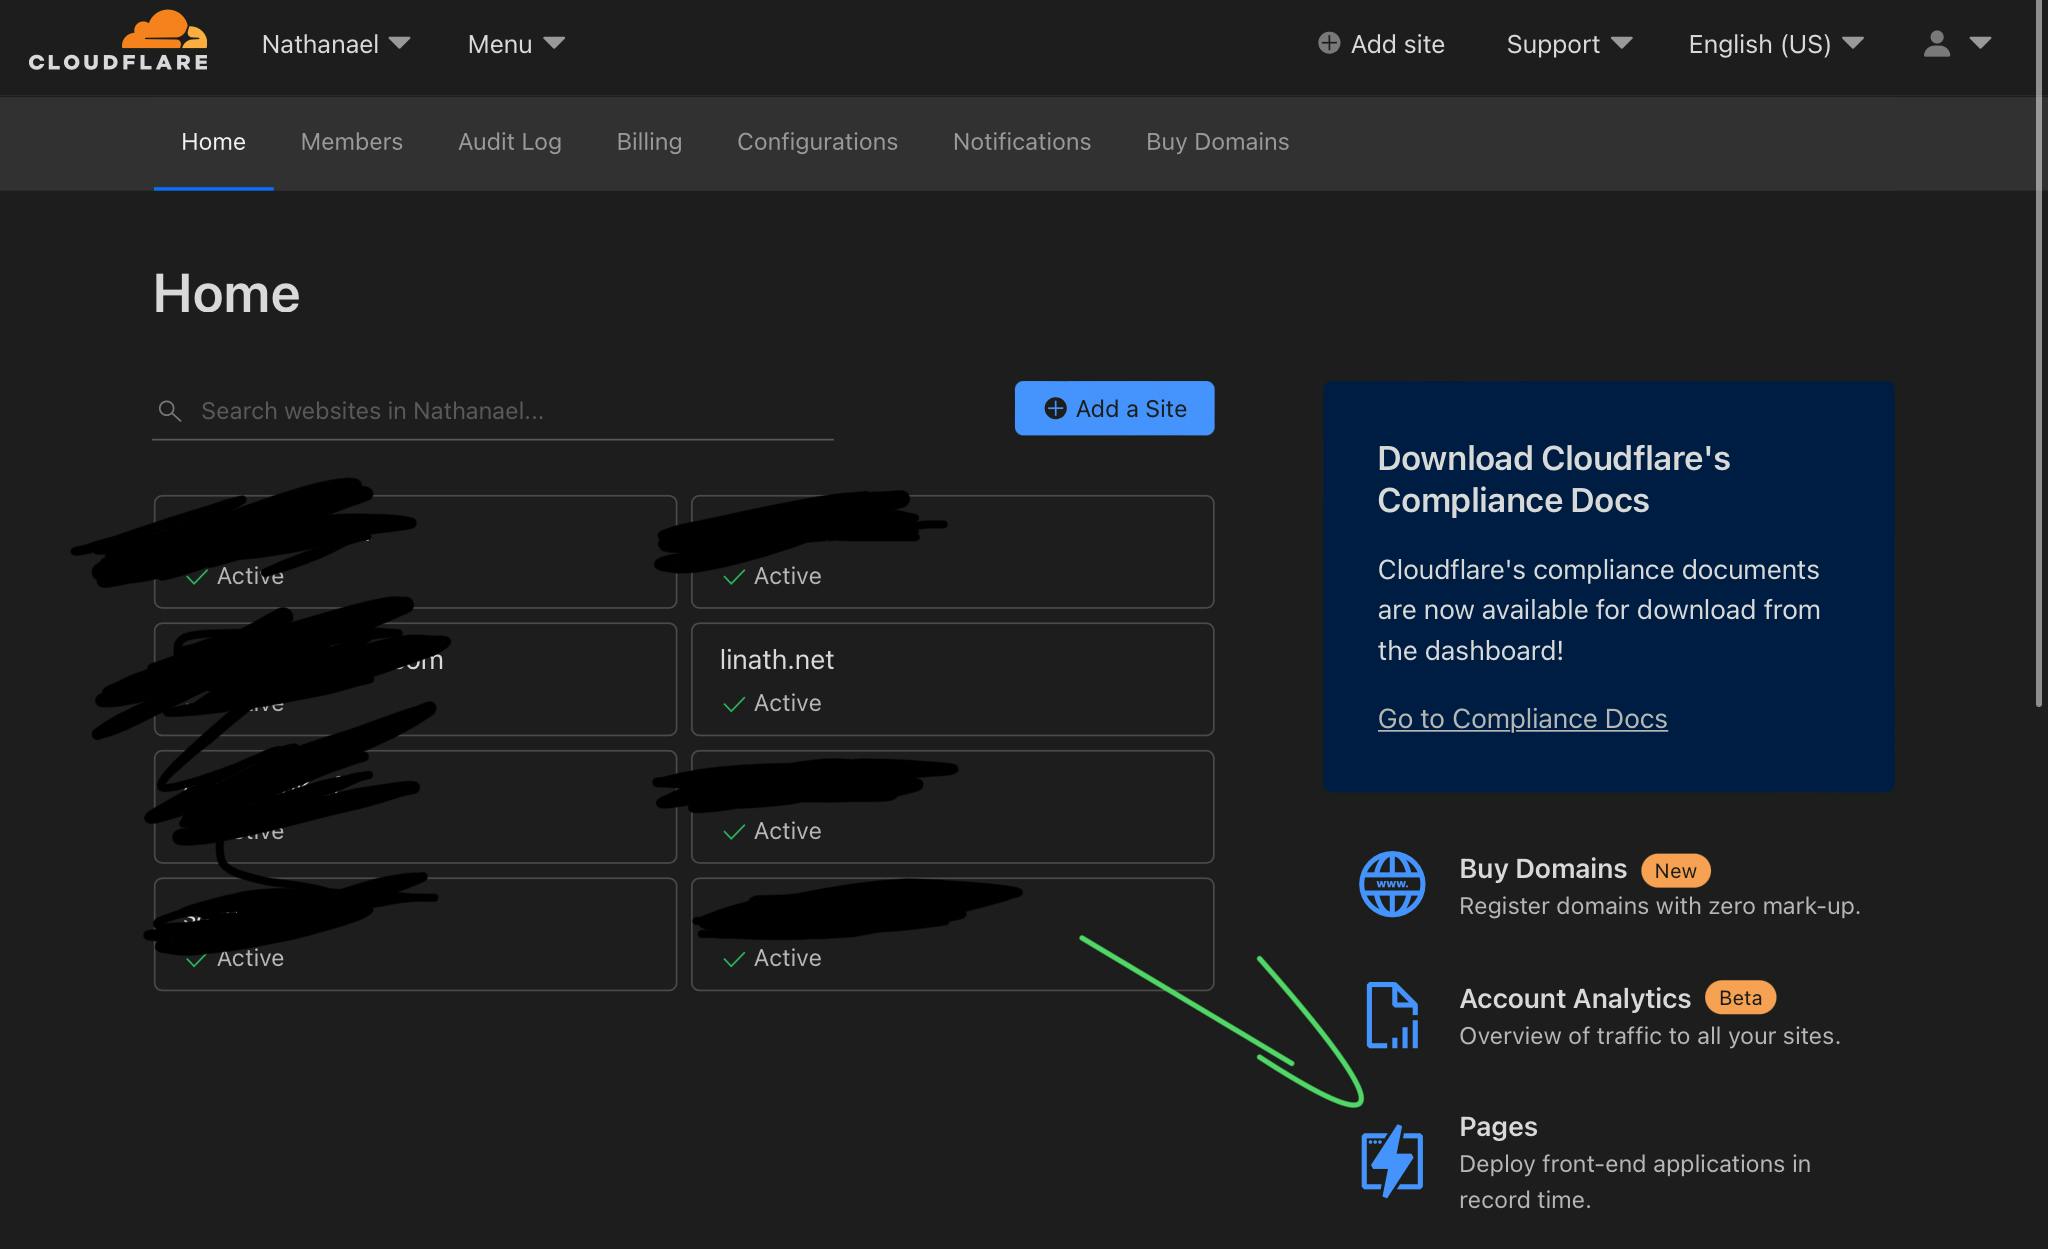
Next, all you need to do is click on the pages button @ your Cloudflare dashboard
Pages Create
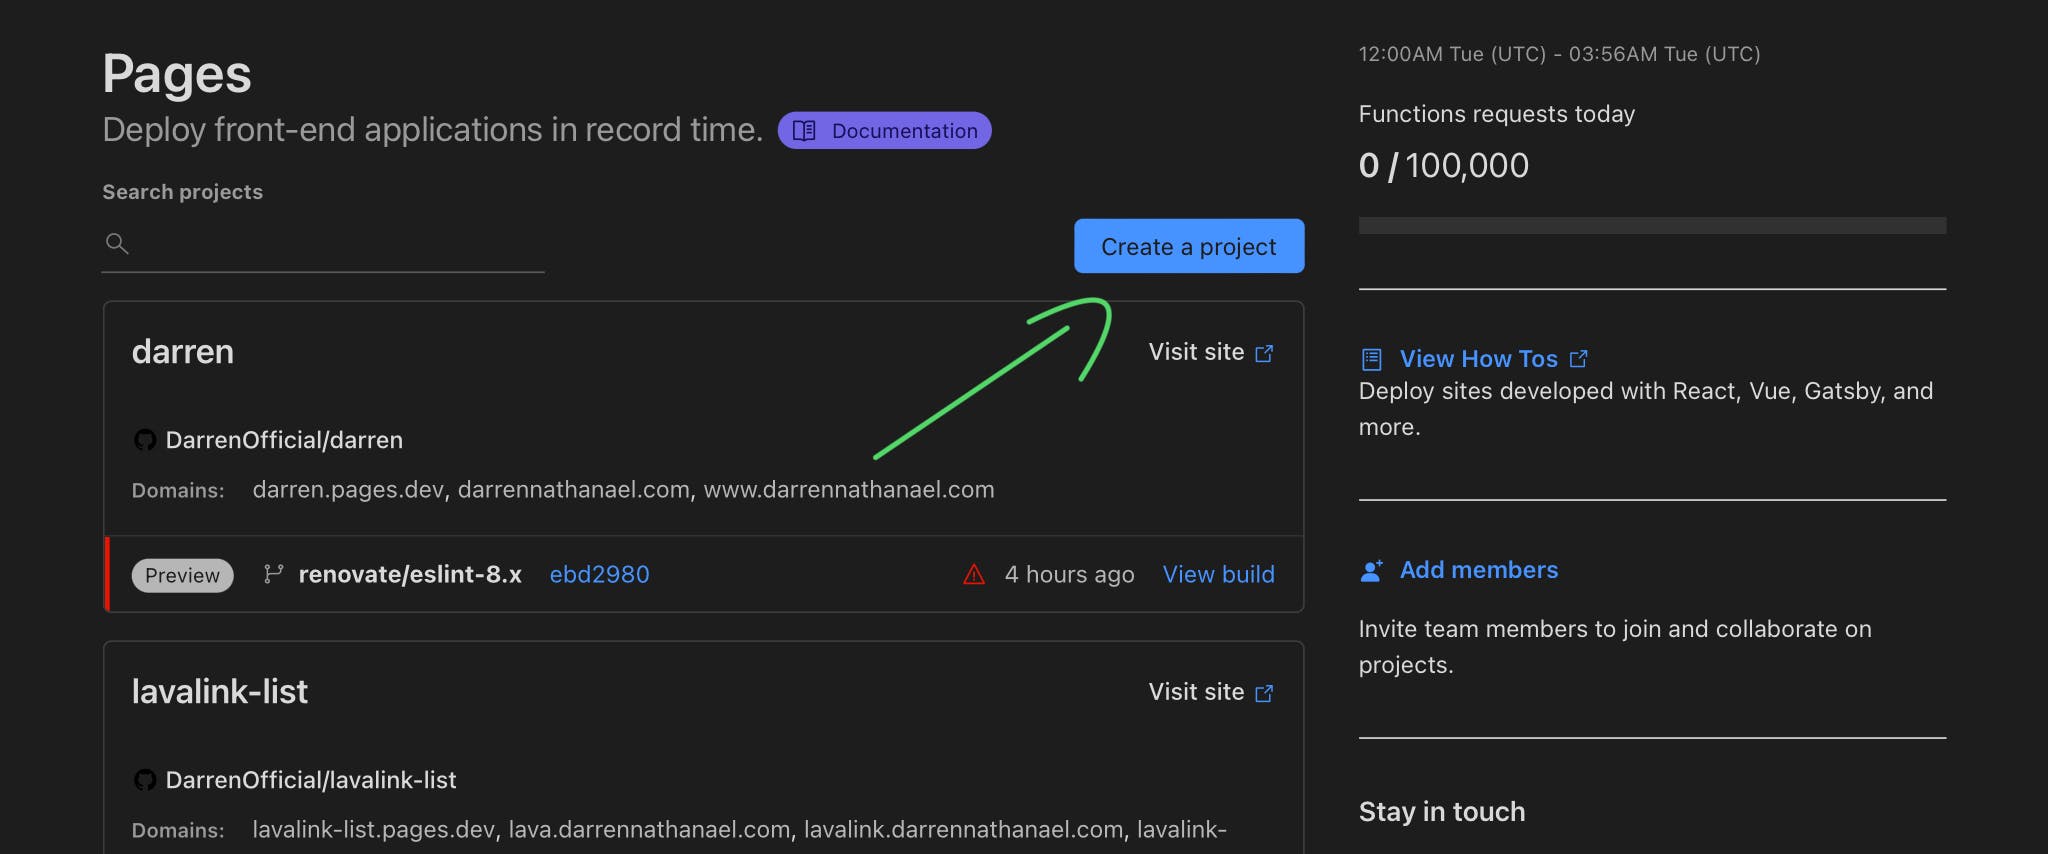
Then create a new project.
Creating Pages Project
Once you've clicked that button, it should prompt you to connect to your GitHub account; you want to do that, then authorize it to either your main GitHub account or your organization GitHub account. After you've linked your GitHub, you can click the repository you want to host, then click begin setup!
Extra settings
Next, you can set your project name, the branch you want to use, and your build settings.
If you want to host a static HTML file, you can set the framework preset to none, then put the build command as exit 0.
Page build settings
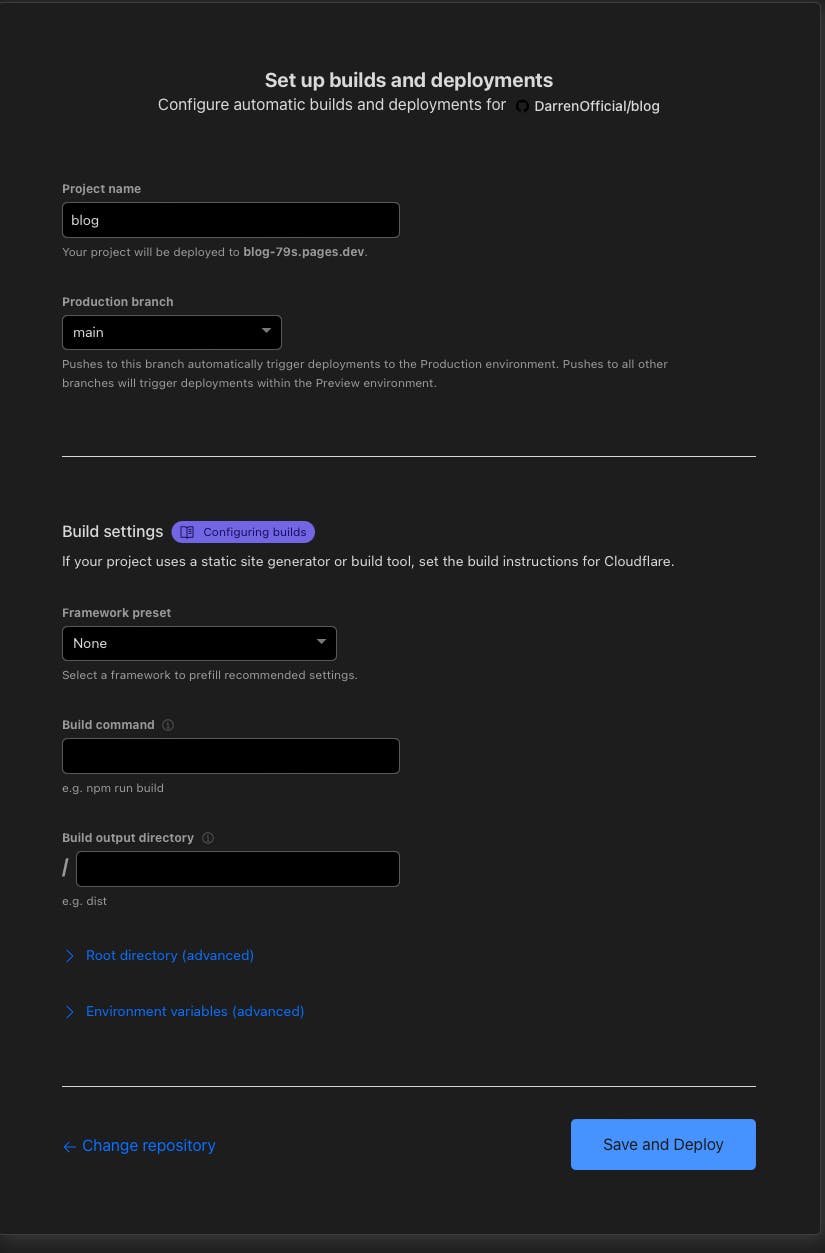
And that's it! Click deploy, and your site should be ready in no time! it may take 2 - 5 min for it to build your site depending on the site
Thank you for reading, have a great day!
- Website: darrennathanael.com
- Socials: link.darrennathanael.com